The larger class of single strand wire #22 (460lb) up to the #27 (850lb) are certainly a level above what most anglers would require. Most everyone will agree making a haywire twist by hand is ideal, but working with heavy single strand wire can be challenging, there's no shame in using tools.
Pictured here is a 13/0 4480-DT Mustad connected to #25 (750lb) test Malin Single Strand with a Haywire Twist. I think about Haywire Twists in Three Parts.
#1 is the loop. I use wire pliers to establish the loop in heavy single strand. It's a crucial bend and wire pliers create a uniform bend eliminating the chance of a kink. Personally, I think it is important for the hook to move freely in the wire loop to minimize the influence of the wire rigidity.
#2 are the wraps. Uniform and symmetrical is my goal. The more symmetrical the wraps are the stronger the hold will be.
#3 is the finish. I try to make tight and clean barrel wraps. The barrel wraps are a finish to the wraps, the strength is in the wraps not really the barrel wraps, 4 to 6 barrel wraps is plenty. I prefer to finish with a crank.
Just as you would crank on a reel, you push the crank around in a circular motion. If your not familiar with this technique, I suggest you try to perfect it with the smaller wire first.
A quality set of wire pliers and a cheap set of lineman pliers are my tools of choice. I like the 6mm and 8.5mm anvil but there are several sizes and styles on the market to choose from.
When using pliers to help hold heavy wire, I choose the cheap lineman pliers over high quality ones because they are typically built with soft steel. They do wear quickly but because its metal is softer than the wire, the pliers are damaged instead of the wire. I prefer the diamond cut grip over the parallel cut.
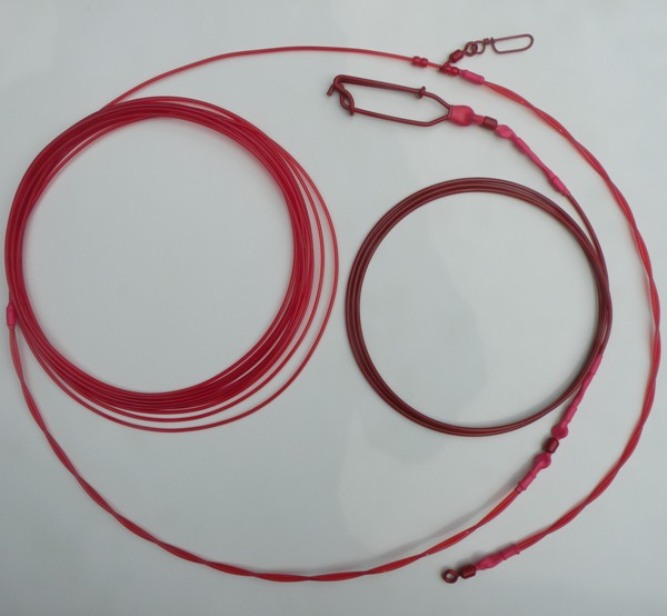
These are 12/0 Owner Big Game Hooks on #22 (460lb) Malin Single Strand Wire. This is my standard of quality in detail. I think everyone can agree that these are all quality Haywire Twists and you can expect similar consistency with my premade leaders.
This is an explanation of the risks and solutions of using multiple drops and longline clips. In late 2006, I designed and built leaders with longline clips. Pictured below is one of our early Alternative Deployment Leaders, virtually the same as our original leaders from 2006. I discontinued this all monofilament Longline Clip leader shortly after the IRD (increased radius design) leaders were developed.

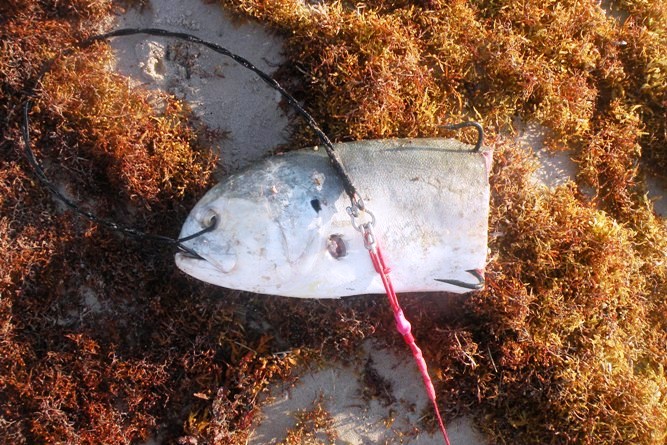
In 2009, our IRD (increased radius design) Leaders simply added a length of cable between the weight and the bait. This concept increases the courtship time between the shark and bait before it feels the weight. It also saves material by allowing the use of shorter drops. its a very common design today.

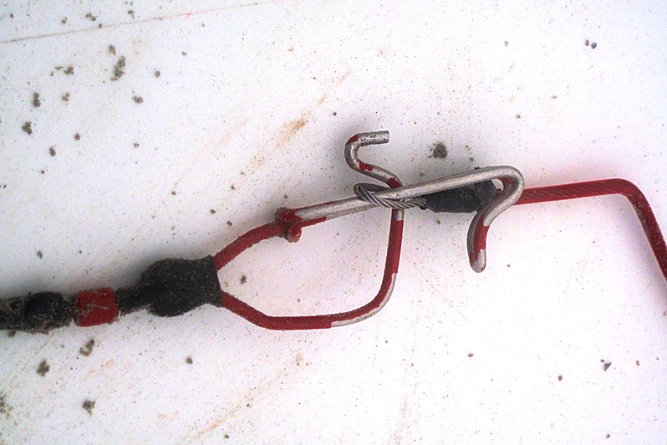
I discontinued the use of Longline Clips on our leaders in 2011 because they have an inherent problem when using multiple drops...


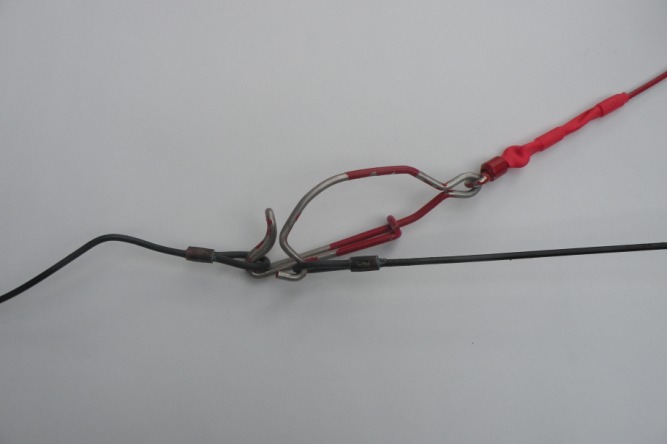
The clips are failing because the drops are being pulled from different directions. Perhaps two sharks on different drops pulling against each other or maybe a dangling drop could get caught on structure. However it happens, it certainly happens. I stopped using longline clips on leaders and began to design them with shackles instead. Today I prefer the shackles, but with the recent increase of Longline Clip Leaders in the community I want to introduce this explanation and a solution to the problem. Longline Clip leaders with multiple drops should always be rigged with a shackle, the rigging is pictured below...
This system prevents the Longline Clip from being pulled from different directions, eliminating the problem. It has the benefits of a Longline Clip with the security of a Shackle. It also makes changing a deployed bait quick and efficient by eliminating the need to address each of the multiple drops individually.
If you prefer longline clips and use multiple drops, this rigging is a good way to go.


